I was wrong.
Some people have a tough time admitting they were wrong. In this case at least, I am really quite happy about it.
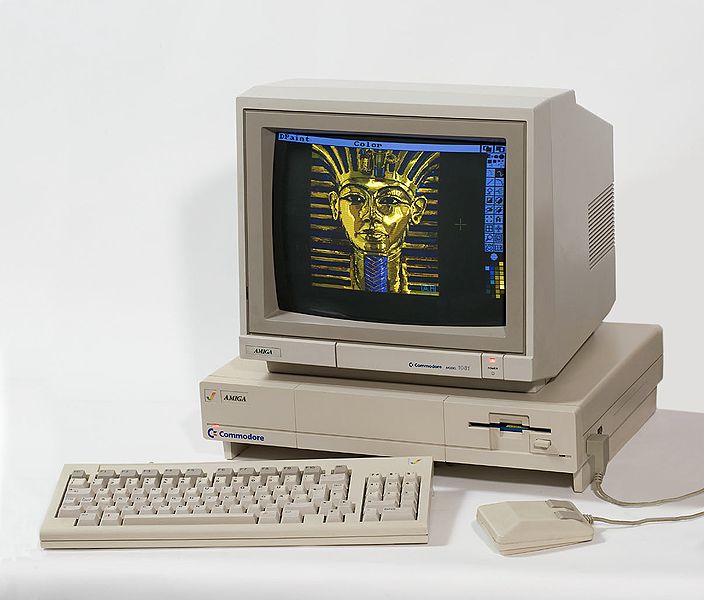
I was the lucky guy who got to finish the HD Audio sound driver for the AmigaOne X1000. That was a long enough story in itself and is covered as an earlier blog entry.
But due to technical difficulties, I was unable to add support for monitoring inputs “Live” and unable to add support for it in the “Mixer” program. I have had to explain this dozens of times, and it was even added to the AmigaOS Wiki X1000 FAQ. Now, just one more time, I’ll detail exactly what went wrong with these features.
 The first big problem
The audio chip in the AmigaOne X1000 follows the Intel HD Audio standard, which is emerging as the replacement for the older AC’97 standard. Most (almost all) of the existing sound drivers are AC97 based. The new standard has lots of great features but there is one particular “sticking point”. The control registers for the older cards just showed up in PCI address space. Any program that knows where to look and what values to poke* can take control of the sound card. There is a register to hold the volume, another to choose which input to use, most of the features and options are simply controlled by poking different numbers into this memory space.
These new HD Audio chips have special communications ring buffers for sending commands and data between the computer and the sound Coder/Decoder chip (Codec). It’s all detailed in the Intel HD Audio specification, exactly how instructions can ride alongside the data, how fast things move back and forth, where the response to each command will come back out of the data stream… all a rather complex but capable system for driving up to four audio codecs at once.
But there’s the problem.
We get the driver going, and AHI knows how to control volume through the “correct” means… but when users ask for “Mixer” support there is simply no PCI address space to poke numbers into. There is no way provided to get the volume instructions merged into the command stream that is already running. Mixer doesn’t work through AHI and it simply bypasses it. To explain it simply: It is designed for all the sounds and commands to come from one place, there’s no provisions for other programs to just poke numbers into the sound chip. Some programs use the volume controls provided by AHI and some ignore them and expect “Mixer” to save the day.
The second big problem
“Live” playback of audio, useful for listening to MP3 players, Audio CD’s or other sound sources. The codec is broken into small sections called “Widgets” (no kidding). There’s a Widget for each jack, a widget for each ADC or DAC, and selector widgets to choose which input to record from. There’s a map showing all the Widgets and all the connections between them in the documentation.
This does make things pretty simple to work on. Just look at the Widgets involved in the signal path and each one comes with a list of options you can control. An example, you are listening to a 7.1 channel audio recording of your favorite group. The path and the widgets involved go something like this:
AHI continues to stream 8 channels of audio data through the Ring Buffers I mentioned earlier, which then are passed to the Audio bus. There are four DAC (Digital to Analog Converter) widgets that can each take part of the data stream and convert it to 2 channels of sound. So DAC0, DAC1, DAC2 and DAC3 have controls to describe the format, sample rate and bit width of the sound data. Each one is also told which channels they are listening to. The driver is responsible for configuring all these different settings.
On the output side are four more Widgets, each describing a jack on the computer. The four widgets for the four jacks that carry 7.1 sound and there’s another one for the headphone jack. Each of these needs to be set to which DAC widget they are connected to. Most of these jacks can also be switched to an input if needed and some can even swap the left and right channels they are carrying.
Once all these widgets are set up, then the stream of music from AHI has a path to your speakers, and the music plays.
Now getting back to that problem monitoring an input live.
I checked the signal chart and I saw no connections available from any selected input back to an output. Every path was either for playing or for recording with no “feedback” available. I kept looking. I checked every option available for every input Widget and for every output widget. There was nothing marked “feedback” or “monitor.”
I was left with the conclusion that these chips don’t do live monitoring. They must need a program to record the incoming sound and send it right back out again (digital loop back).
Now that I have given such detail about all the things I couldn’t do, let’s find out just how wrong I was.

At AmiWest 2013 (highly recommended, it’s a blast) I got to meet many Amiga Developers, Betas and users. One of the many friends I made was Alex Carmona. Alex is one of the other developers who has worked on this HD Audio driver and he had been looking over the documents. As luck would have it, he found two details that I had missed completely:
In response to problem 1, there is a special “back door” register where one command at a time can be added to the stream without messing about with those command ring buffers. Just one, and it will only work rather slowly, but there is the opportunity for Mixer to get some commands into the codec.
And about the second problem, he showed me a second signal chart that looked very much like the first, but it showed one possible path from a selected input back to mix live with the output! How can this be? Even if I missed seeing that from the other drawing, there are absolutely no options on either end of the signal path for turning this feature on and off. The DAC widgets don’t have it, the ADC widgets, the input selector, the input gains and volume controls. No mention ever of “monitor” or “feedback” controls anywhere in the signal path.
Somewhere buried deep in the “AFG” widget, which is mostly for chip-wide controls, there was a single bit buried there named “karaoke“. Yup, turning that on enabled the selected input to mix live with the audio out!
So finally, after reading all this, I get to the point of my story.
I told many people that the AmigaOne X1000 sound chip can not monitor inputs “live”. And I told many more people that Mixer would never work on the X1000 because there was no way to “poke” numbers in from outside of AHI. In both cases, I was wrong. A more experienced developer took the time to explain what I was missing and to help me figure out how to get there.
So, my hat is off to Alex and he deserves full credit for showing me the error of my ways.
hdaudio.audio 6.22 (now available to registered users via AmiUpdate) has the ability be controlled from Mixer. Javier was kind enough to add the Mixer code, so we can hope for a matching release of Mixer to support control of AmigaOne X1000 audio.
There was one more little snag. Every time any program opens AHI, all settings are forced back to whatever the boot up preset is. When I am playing an MP3 player “live” it gets really irritating. So all the Live monitoring controls have been taken out of the Mixer. Mixer has control of AHI playback and AHI recording but a separate program will be released soon that allows control of the monitor loop without AHI getting in a chance to muck things around. This monitor loop allows live playback from Front Microphone, Rear Microphone, Line In or the CD header. It might be handy for listening to analog audio from an older CD player or using “line in” you could mix in audio from a MP3 player. Or possibly to share your Amiga speakers with a second computer. Or you could even use it for Karaoke. 🙂
The users get what they asked for and they can each tell me how wrong I was the next time we cross paths. In this particular case, I am quite happy to be set straight on these matters.
And if you happen to see Alex in your travels, please thank him for being patient with the “new guy”.
We all get the benefits from it.
* “poke” as used in this article, is a reference to a BASIC command to store a value at a given address.
It usually shows up when someone is trying to reach further than the OS wants them to and it’s a
great way to screw things up if you’re not really careful. Would you want someone “poking” around
randomly into your brain?